Updated: 2020-06-22 to add GR2 specific details sent by a kind reader
The Ricoh GR is an excellent camera, which has managed to displace all my former dalliances due to it’s small size, near-perfect ergonomics and incredible performance. But it does have a design flaw. Dust gets sucked into the lens assembly far too easily.
On a recent trip I found lots of annoying dust spots. This is easy to fix, but tedious1.
I’d heard that cleaning the sensor wasn’t too difficult, but the best guide I found online was missing some details. I thought I’d put together a full guide with pictures.
Preparations
- Remove the memory card and battery
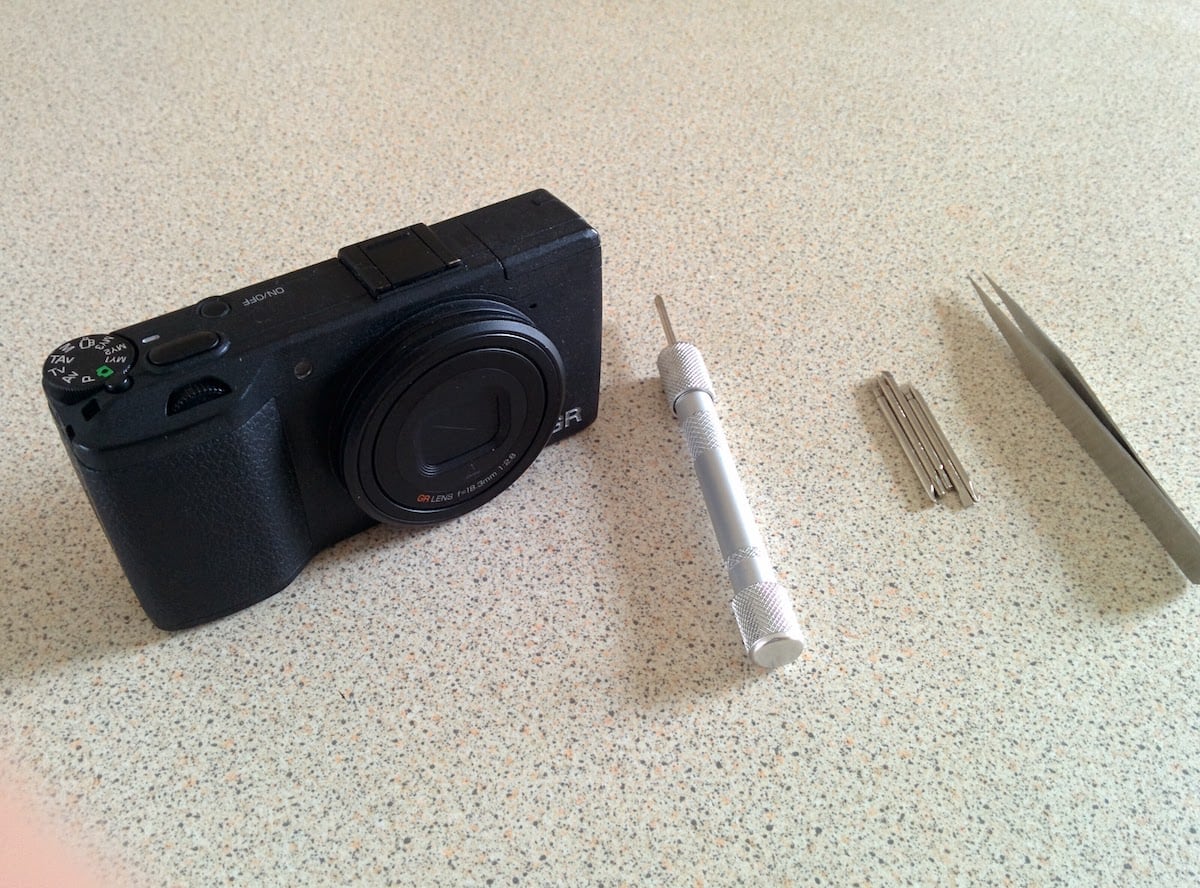
- Prepare your tools
- Ricoh GR
- Crosshead screwdriver
- Something thin and flat - I used a couple of flathead screwdriver heads
- [optional] Tweezers to assist in unpinning a data cable
Removing the back panel screws
There are 5 screws to remove before you can separate the front and back halves of the camera. Four are externally visible, but one is hidden underneath the handgrip. Start by using a flathead screwdriver to lift the grip.
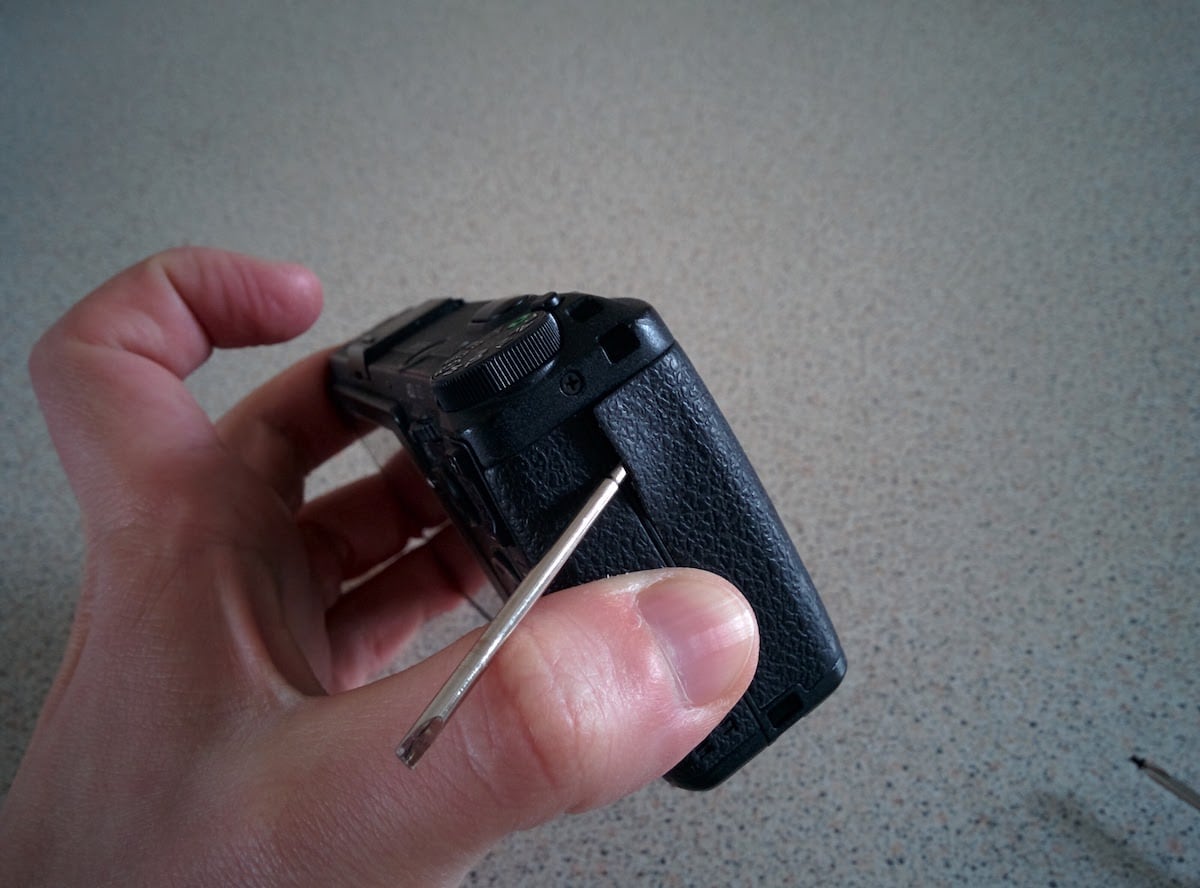
Once lifted you’ll see two screws. Remove the lower one - rightmost in the following picture. This is screw #1.
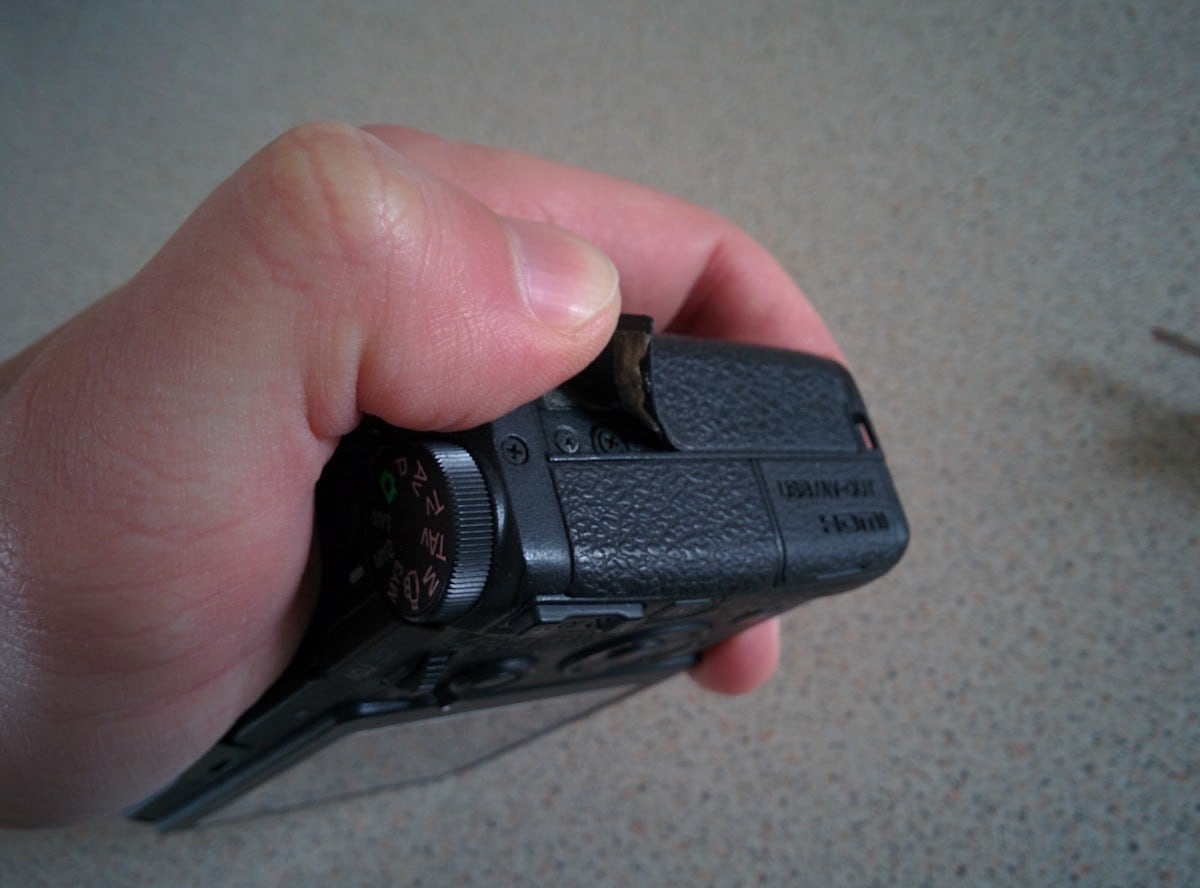
Replace the grip covering. It should go back into place easily. Now remove the screw above the grip. This is screw #2. I’d recommend keeping the screws somewhere they won’t be easily knocked over. The hotshoe cover works nicely!
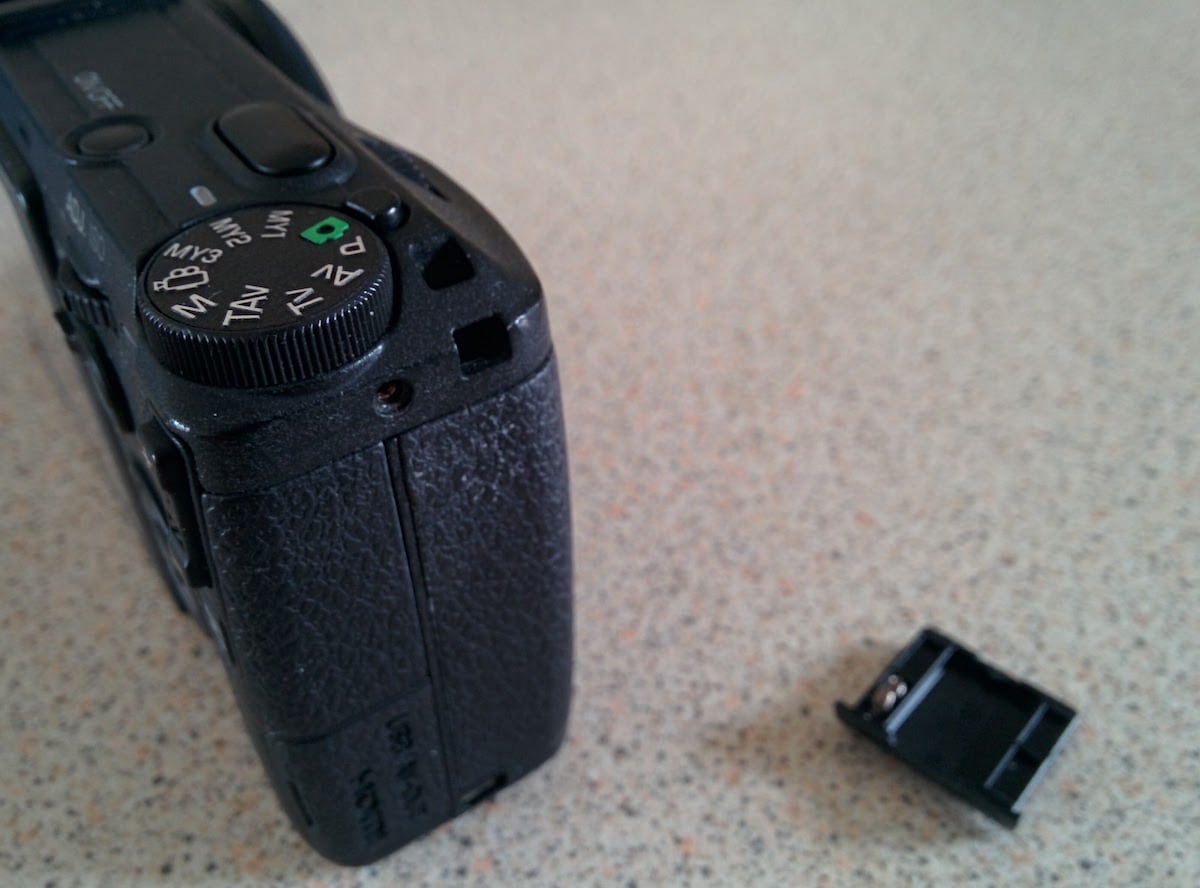
On the opposite end of the camera, remove the screw below the effect button, on the back of the camera. This is screw #3.
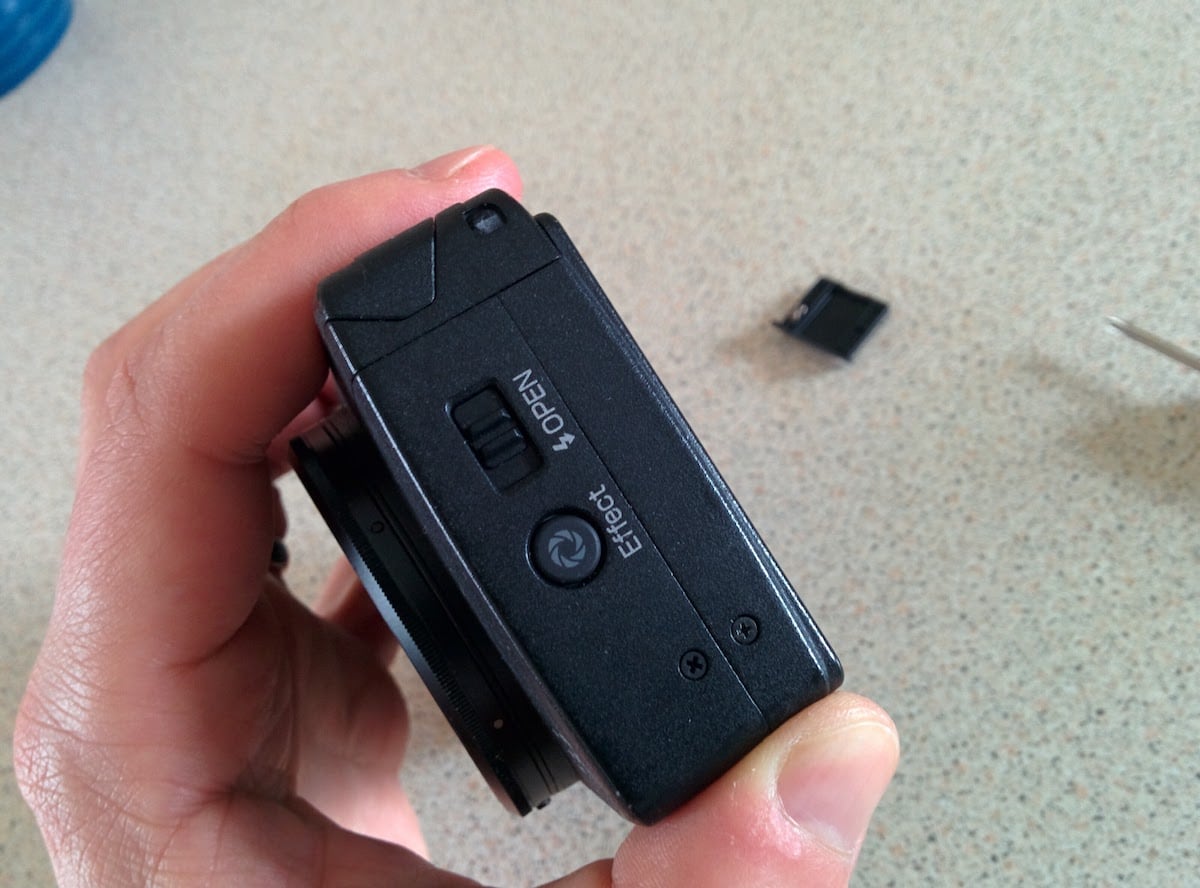
Make sure the battery hatch is locked, then remove the two rear plate screws on the bottom of the camera. These are screws #4 and #5.
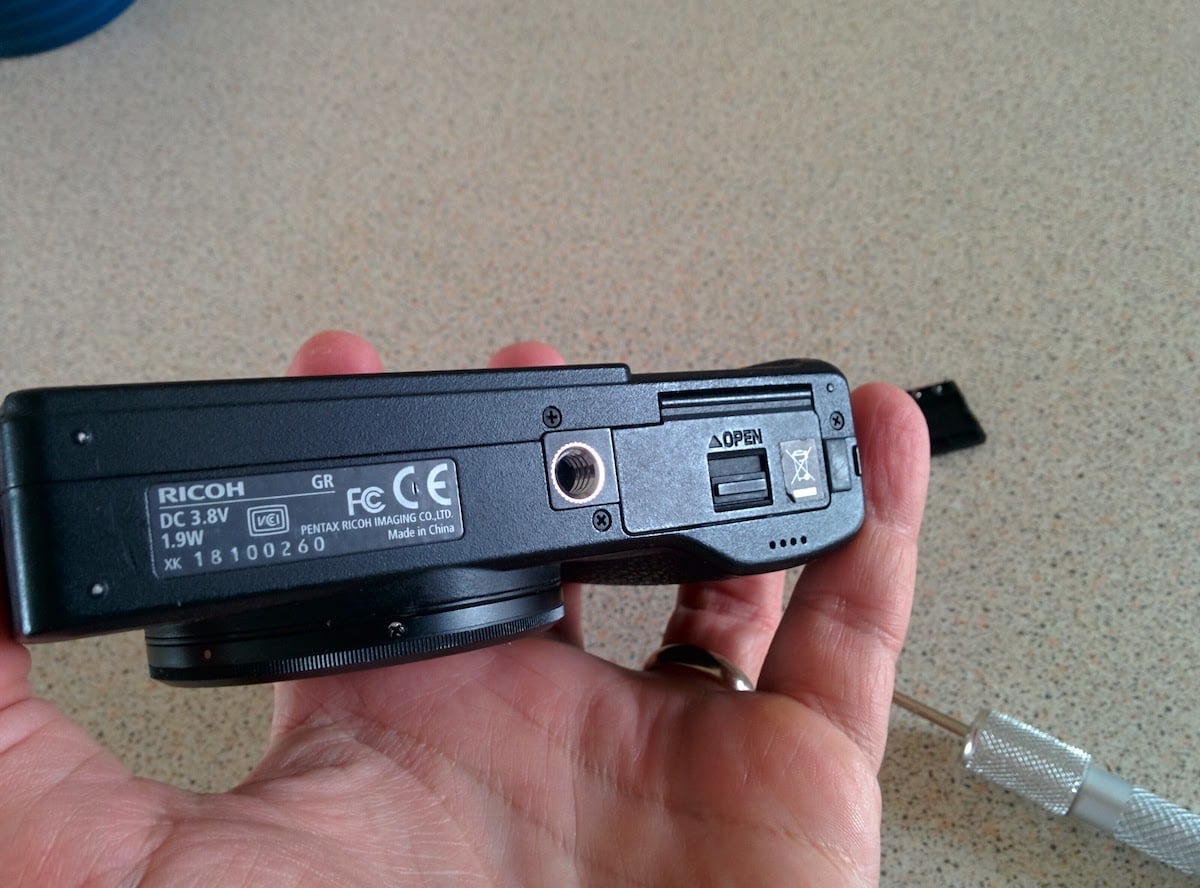
On my GR at least the 5 screws are the same diameter but different lengths. The under-grip screw and bottom screws are longer than the two from the sides of the camera.
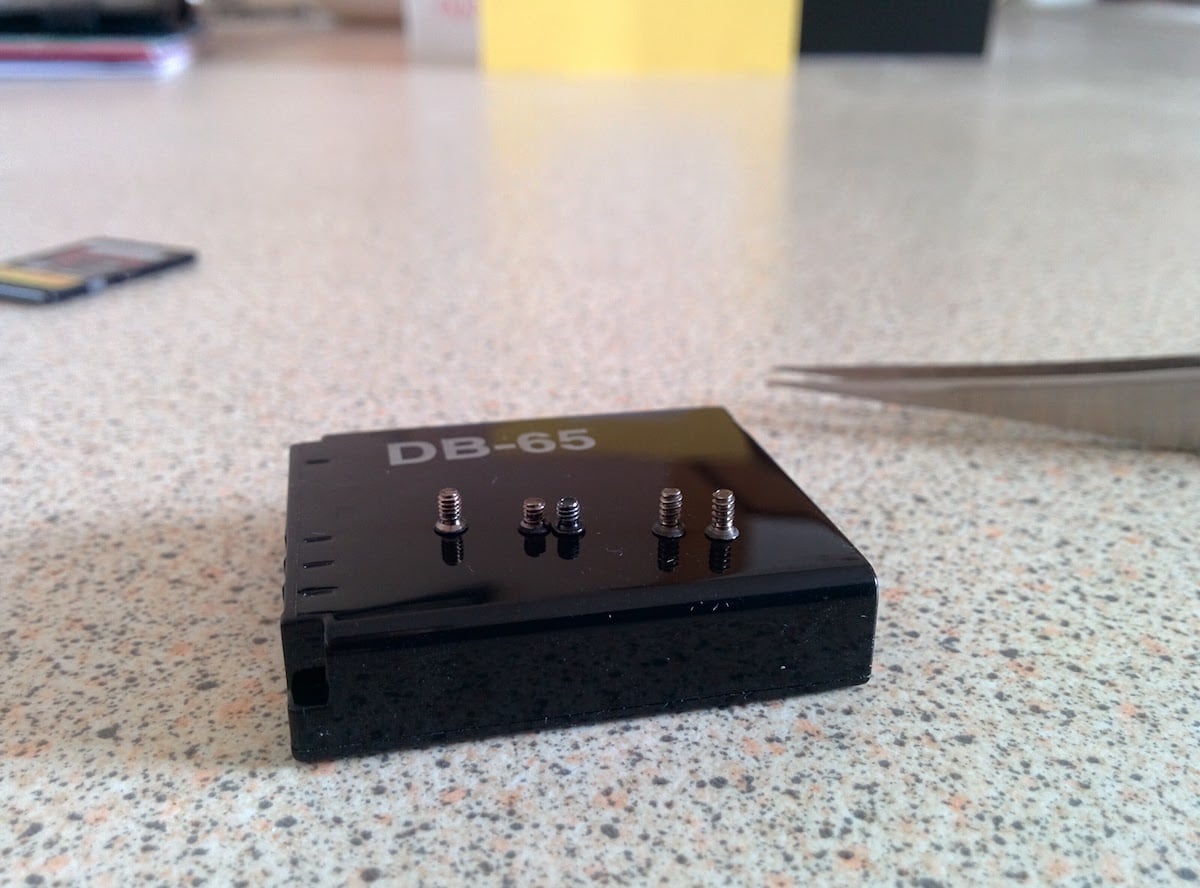
Due to the different lengths, I stored the screws separately to make putting the camera back together easier.
Removing the hotshoe
Now we’ll remove the hotshoe. Use a flathead screwdriver to lift one of the side springs. This doesn’t take much pressure. Look ahead to see the piece we’re removing, and the following two steps will make more sense!
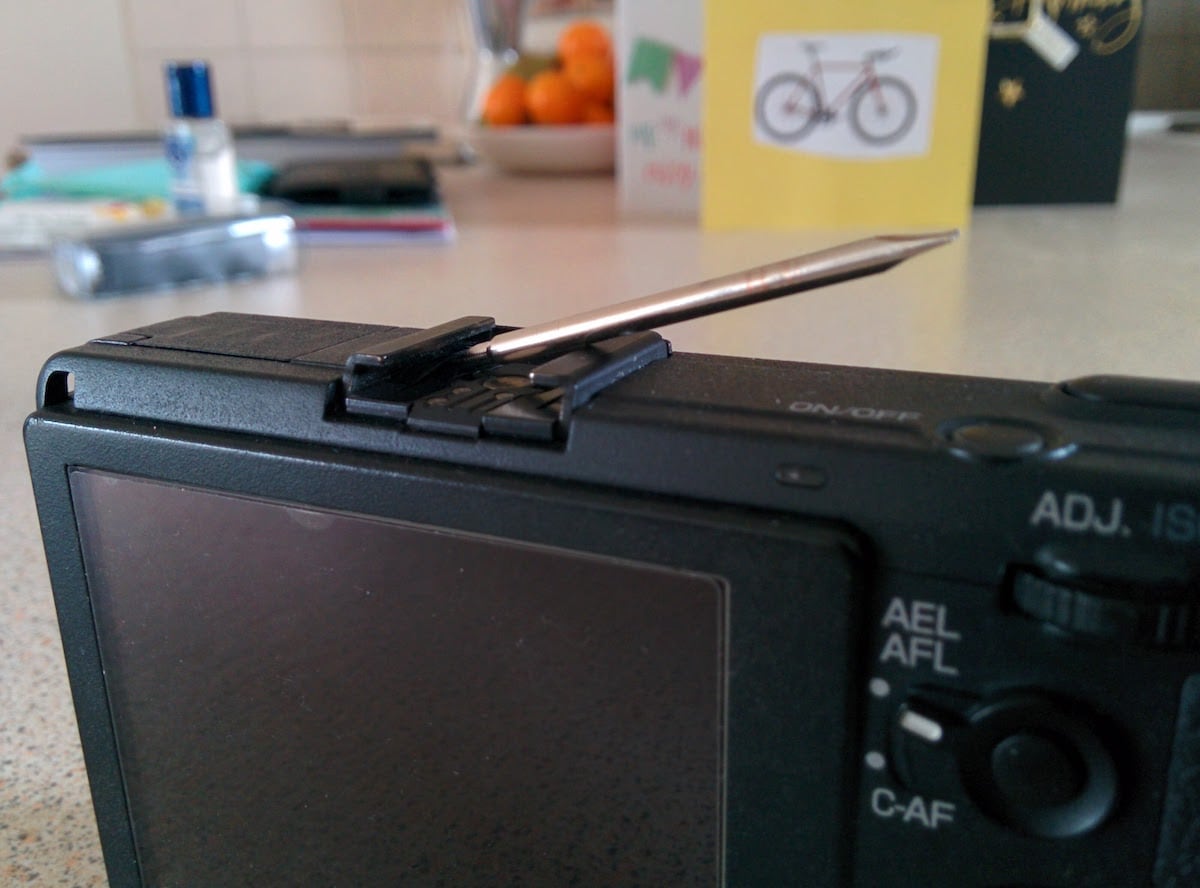
Then lever the spring away from the front of the hotshoe. Because you’ve already lifted the spring up it will slide back easily once unseated.
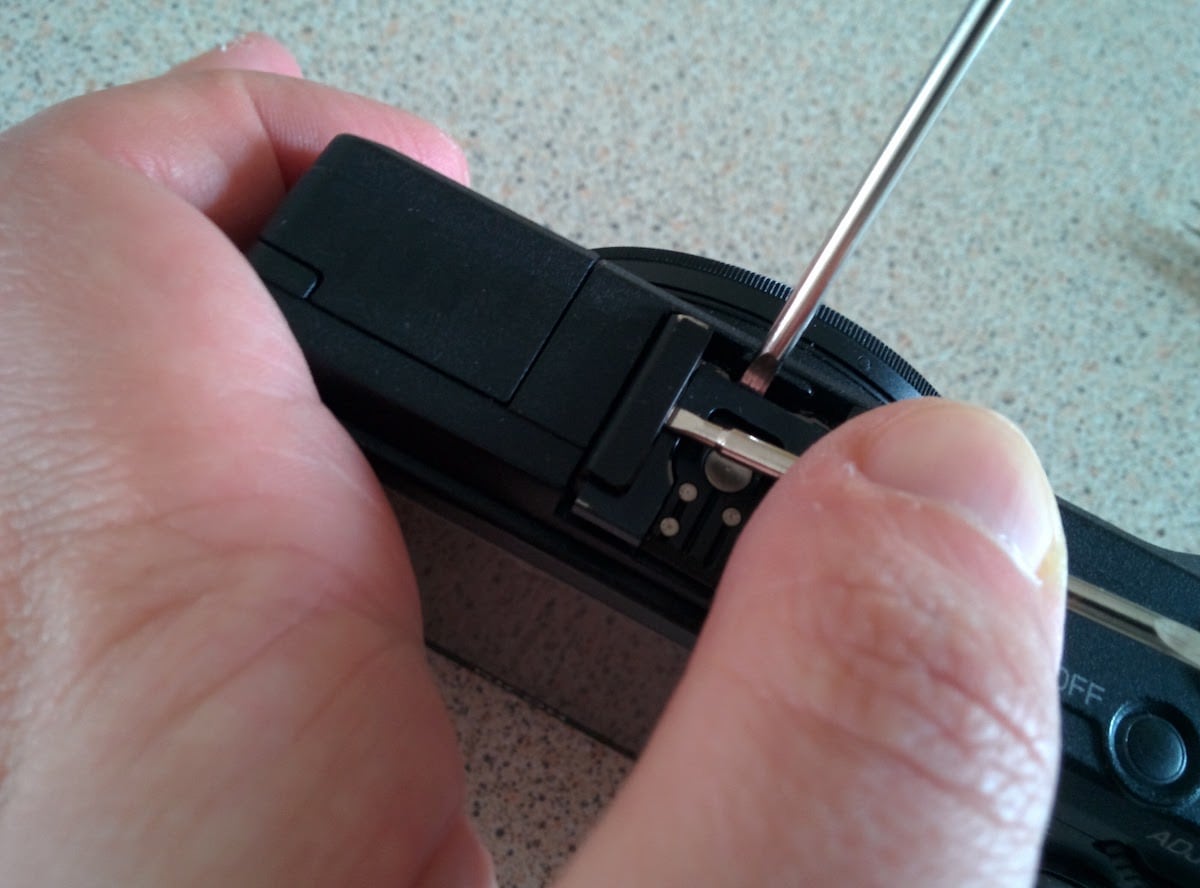
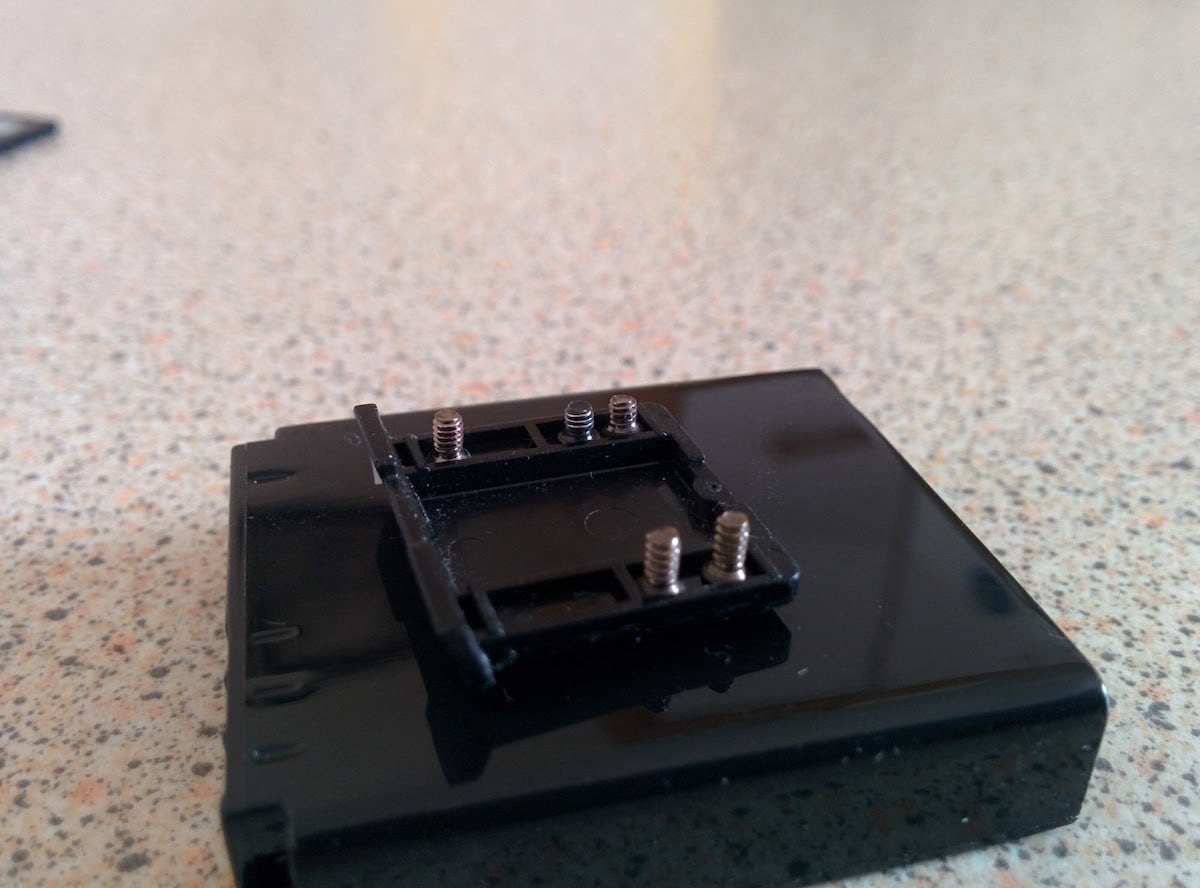
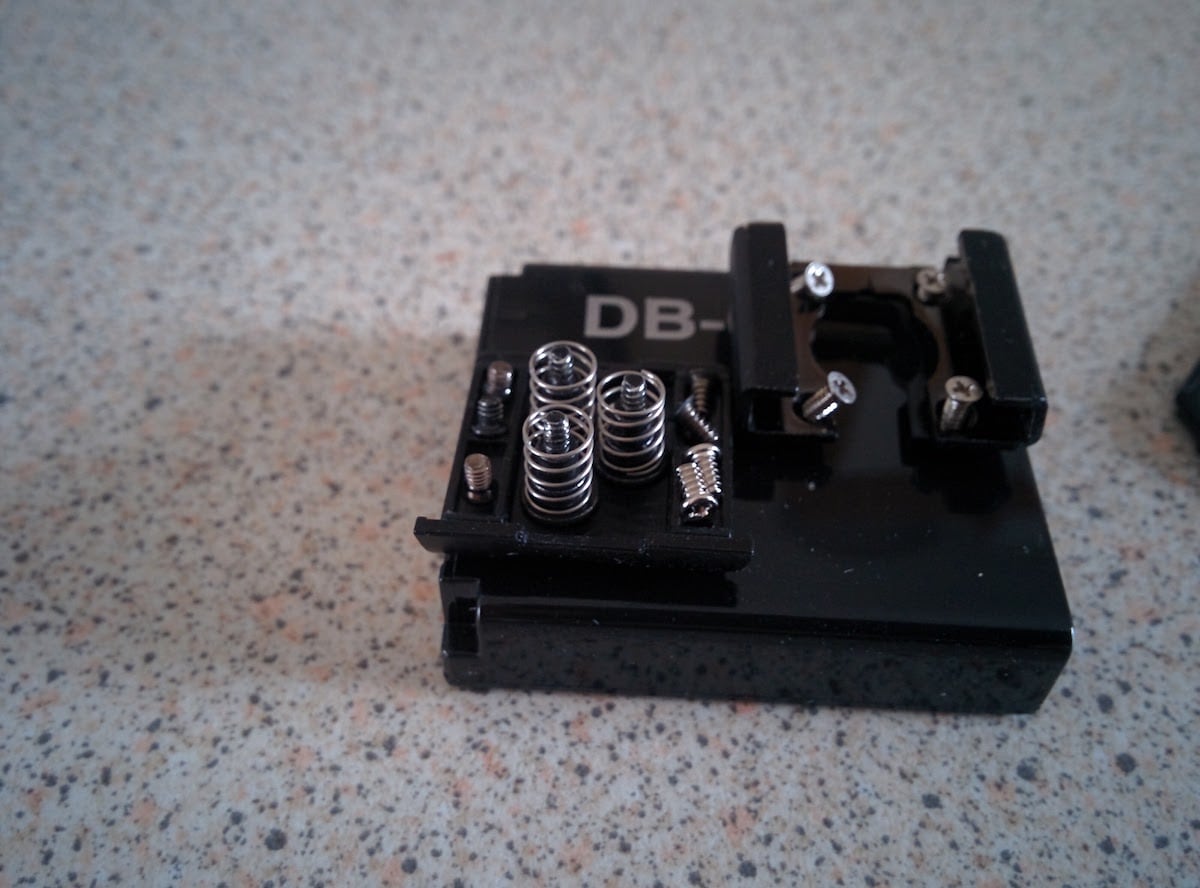
Once the spring is removed the four screws holding the hotshoe in place will be revealed.
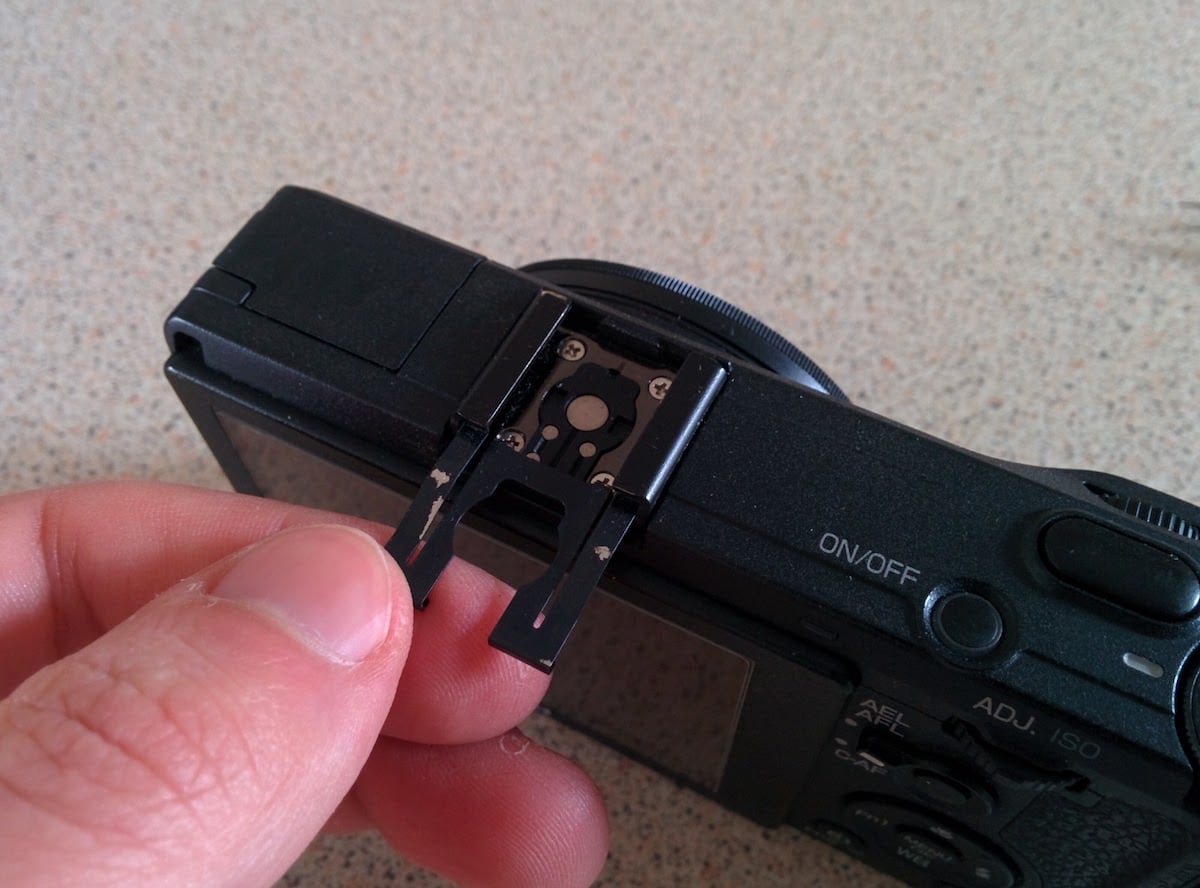
Remove the four screws and lift the hotshoe.
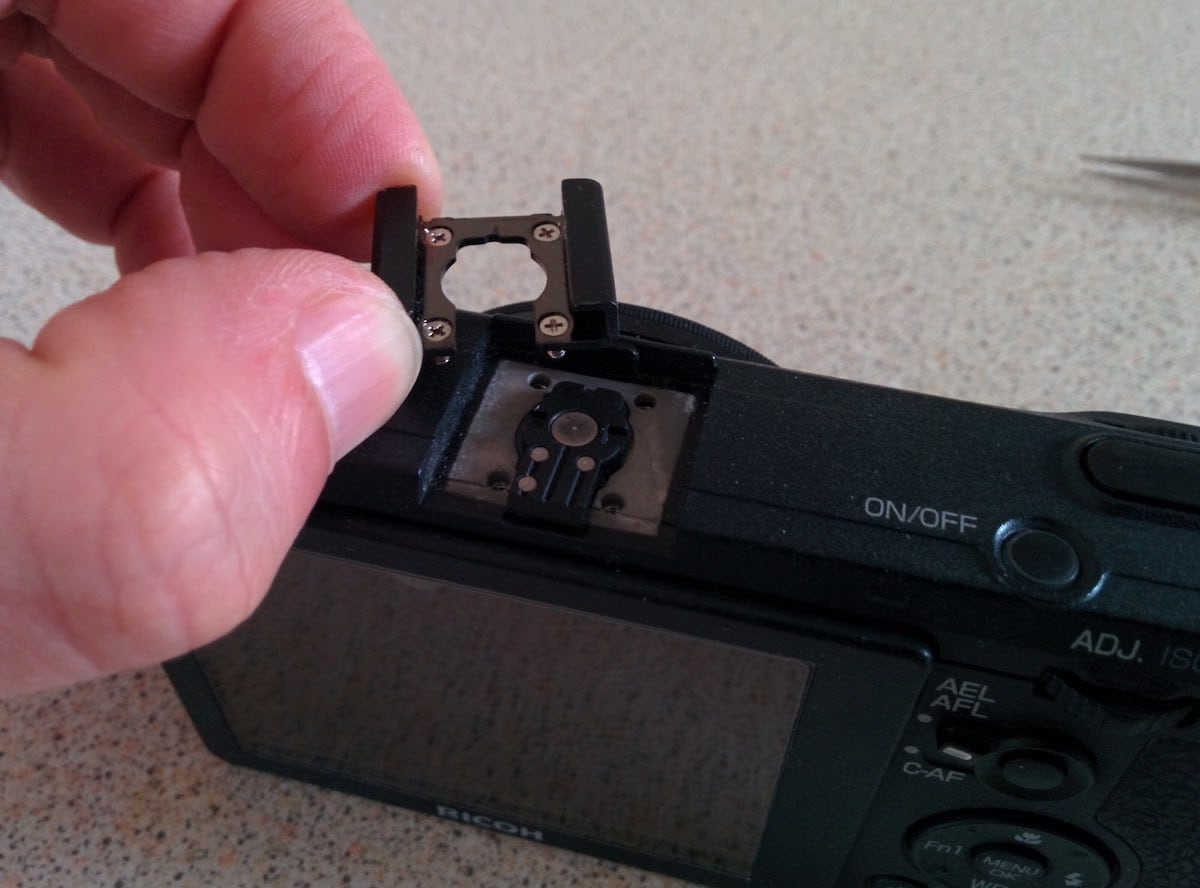
Take a breather. You’ve removed all the necessary case screws and should have all nine safely stowed away.
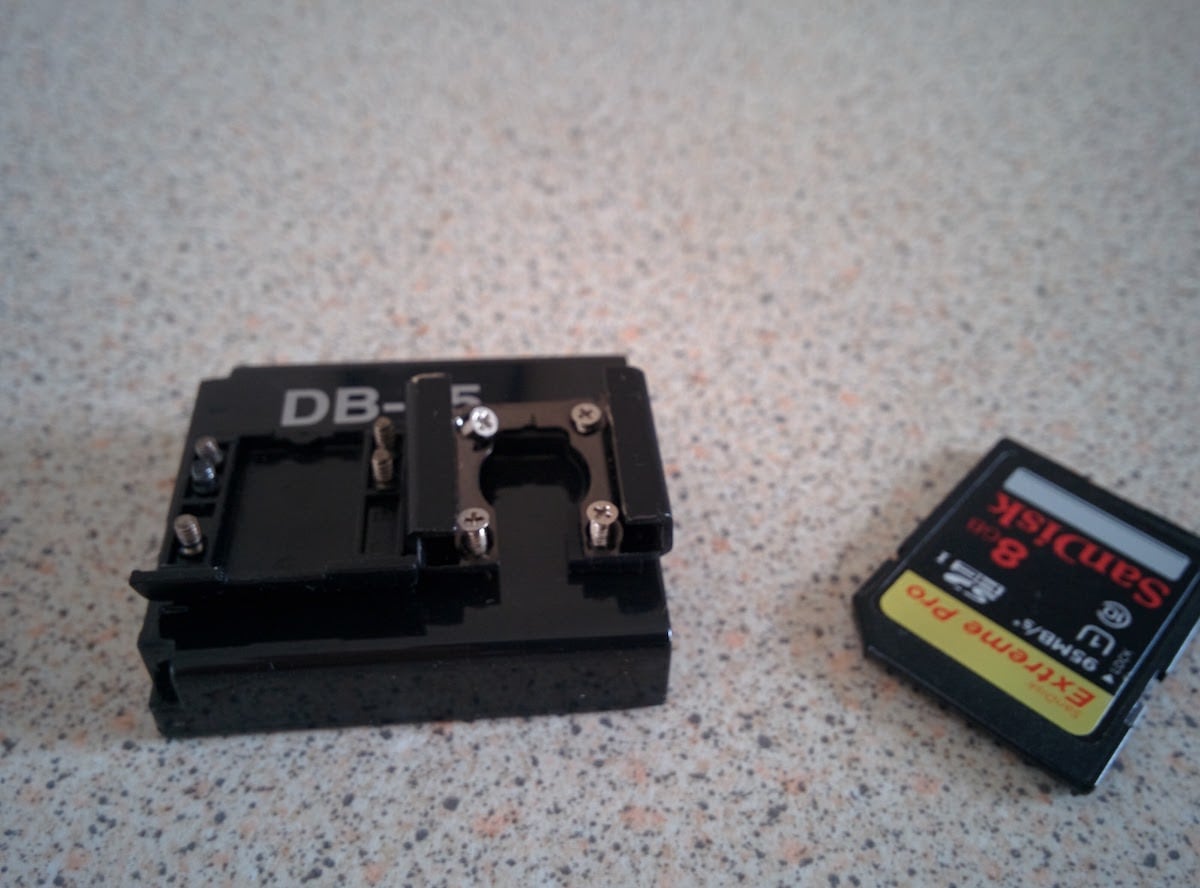
Detaching the back panel
Now remove the back of the camera. Start by lifting from the bottom.
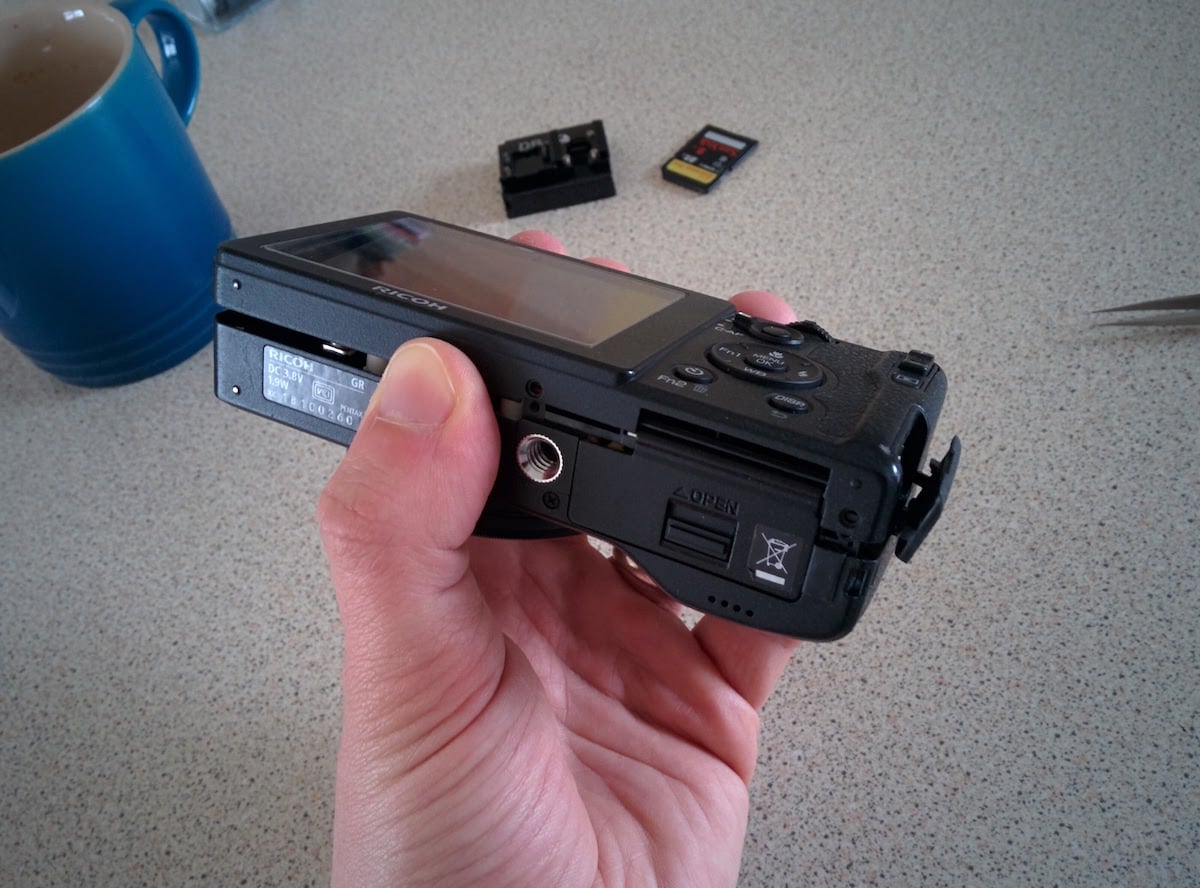
The back of the case is hooked in near the iso adjust lever. By slightly lifting the camera’s top panel - made possible by screw #2 above - it’s easier to pull the back panel away.
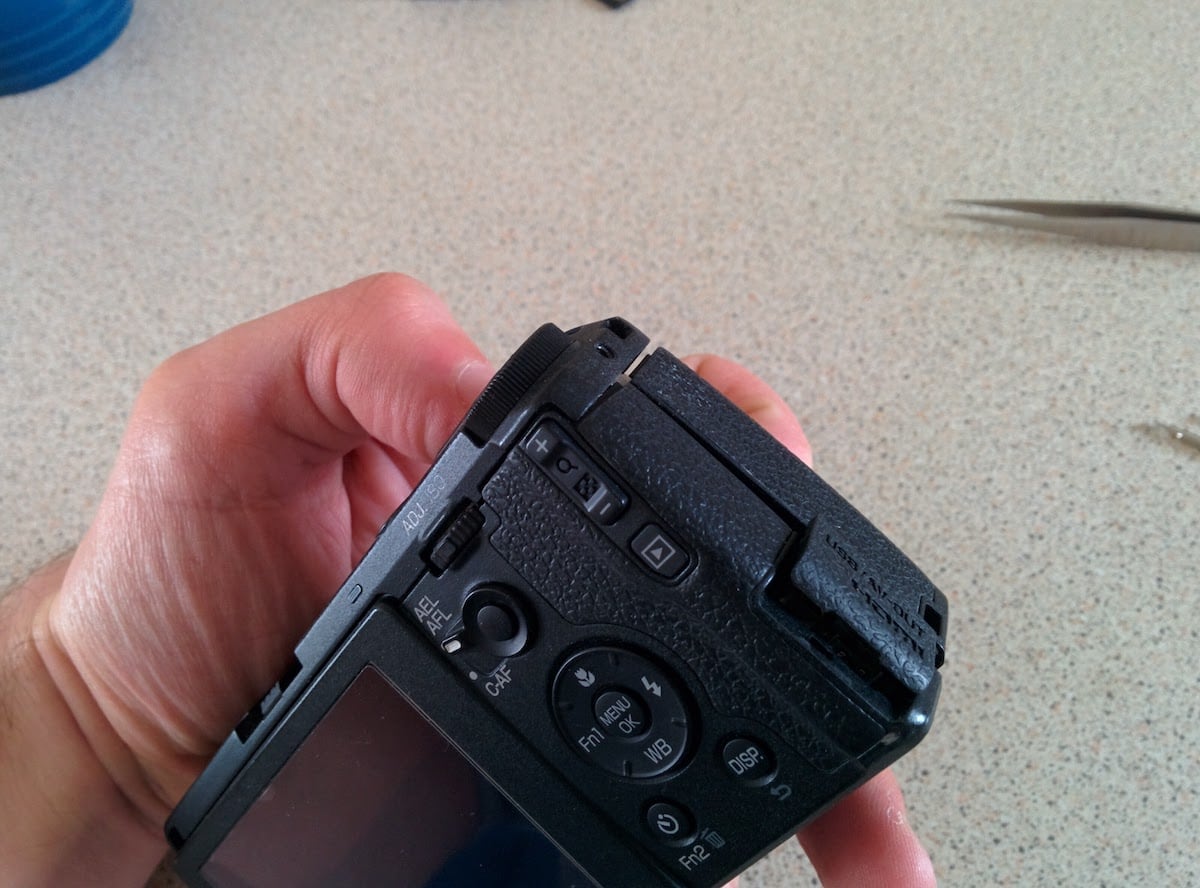
Now you should be able to separate the back panel from the body. Do this gently and be careful not to pull on the cable which connects the body to the front panel. The next step shows the cable.
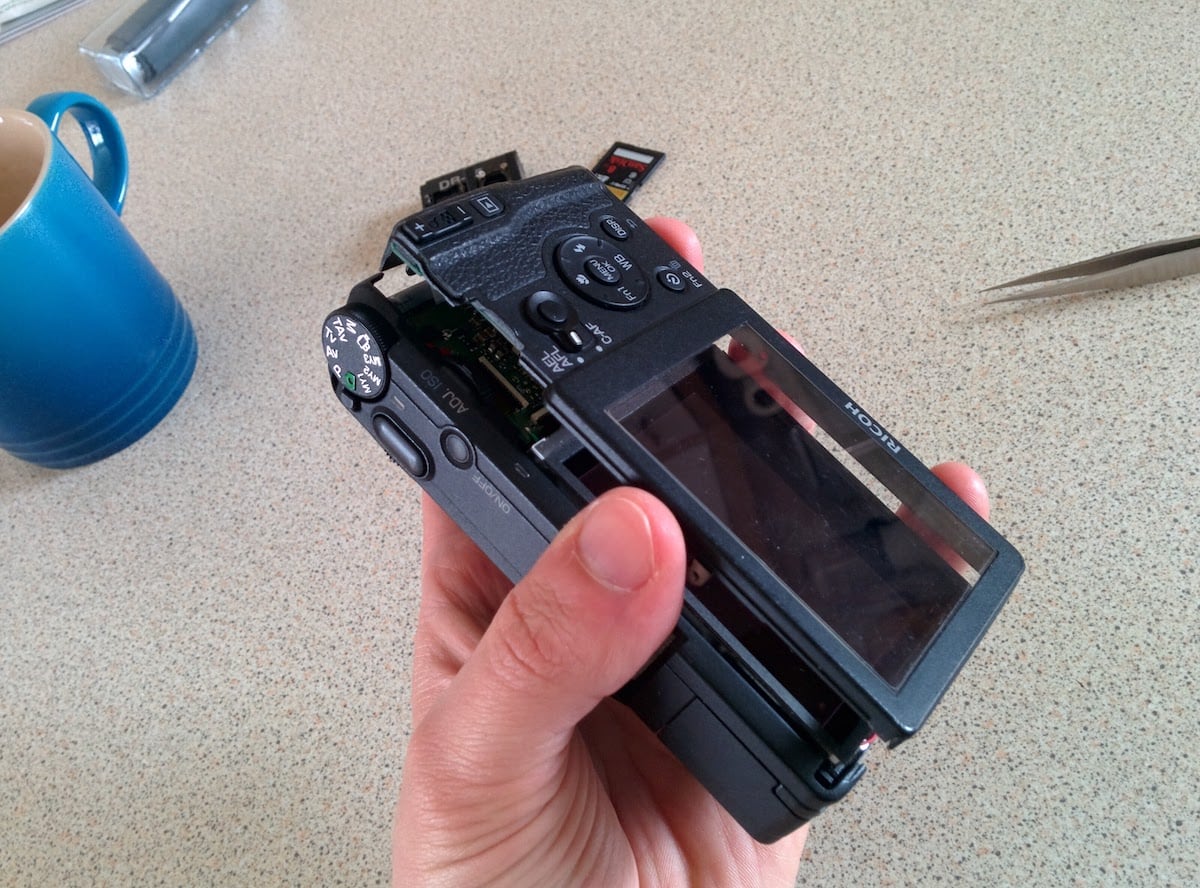
Here’s the cable to watch out for.
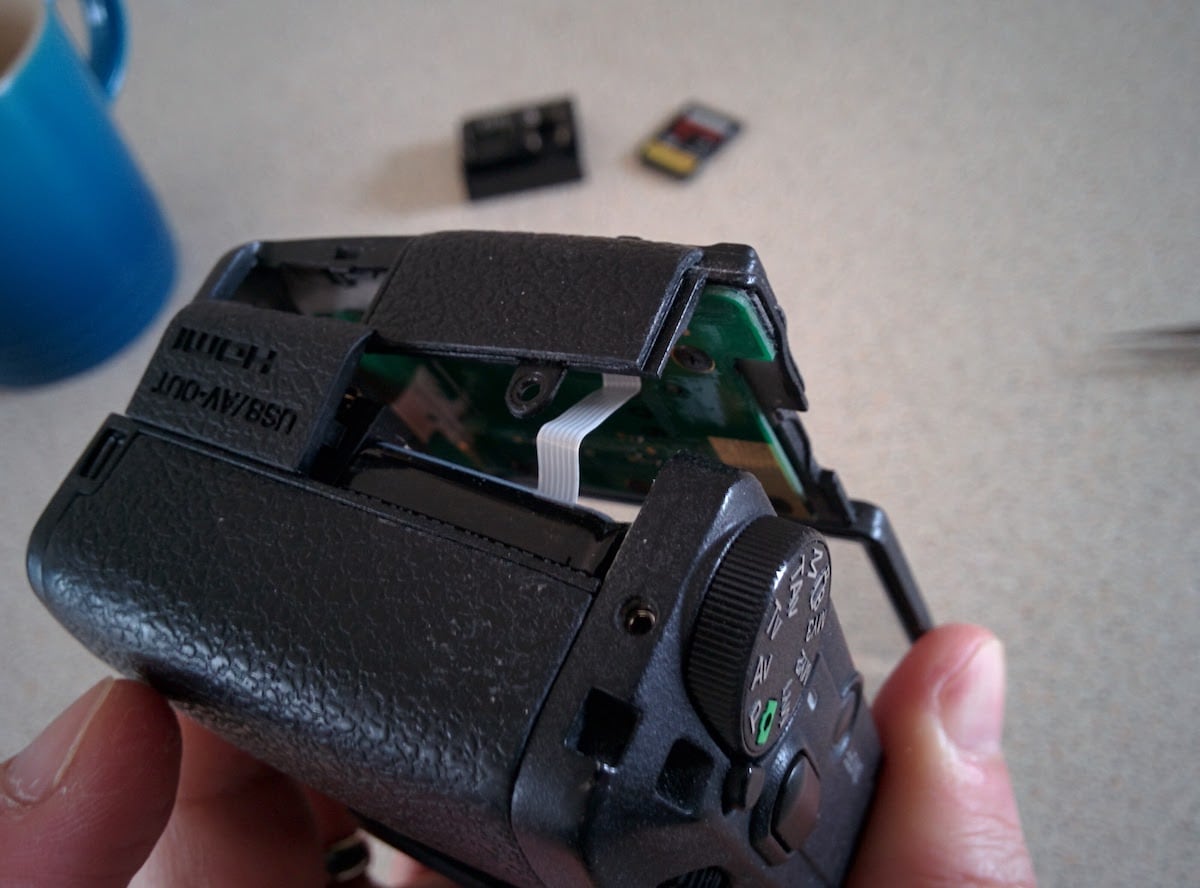
Lift the back panel from the screen side so that you can get at the cable.
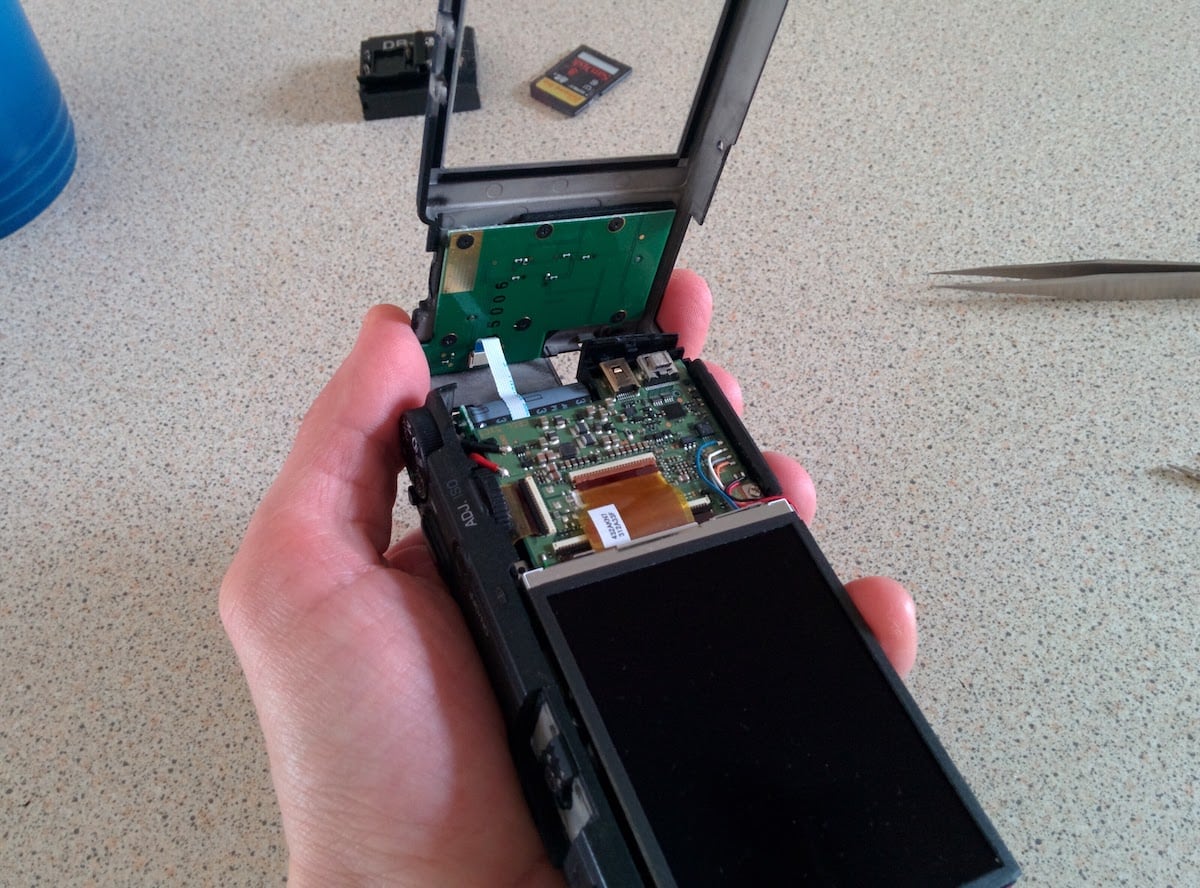
Use the tweezers to disconnect the white cable.
When you do this be careful of the contacts on the cable - a reader emailed me that he had damaged the contacts and had to alter the cable to make some buttons work after reassembly. He recommends leaving the cable in place to avoid this risk, which I haven’t tried but sounds like it would work fine but perhaps be more fiddly. Another reader emailed that they had left the white cable connected to the back panel during the rest of the operation and this worked fine.
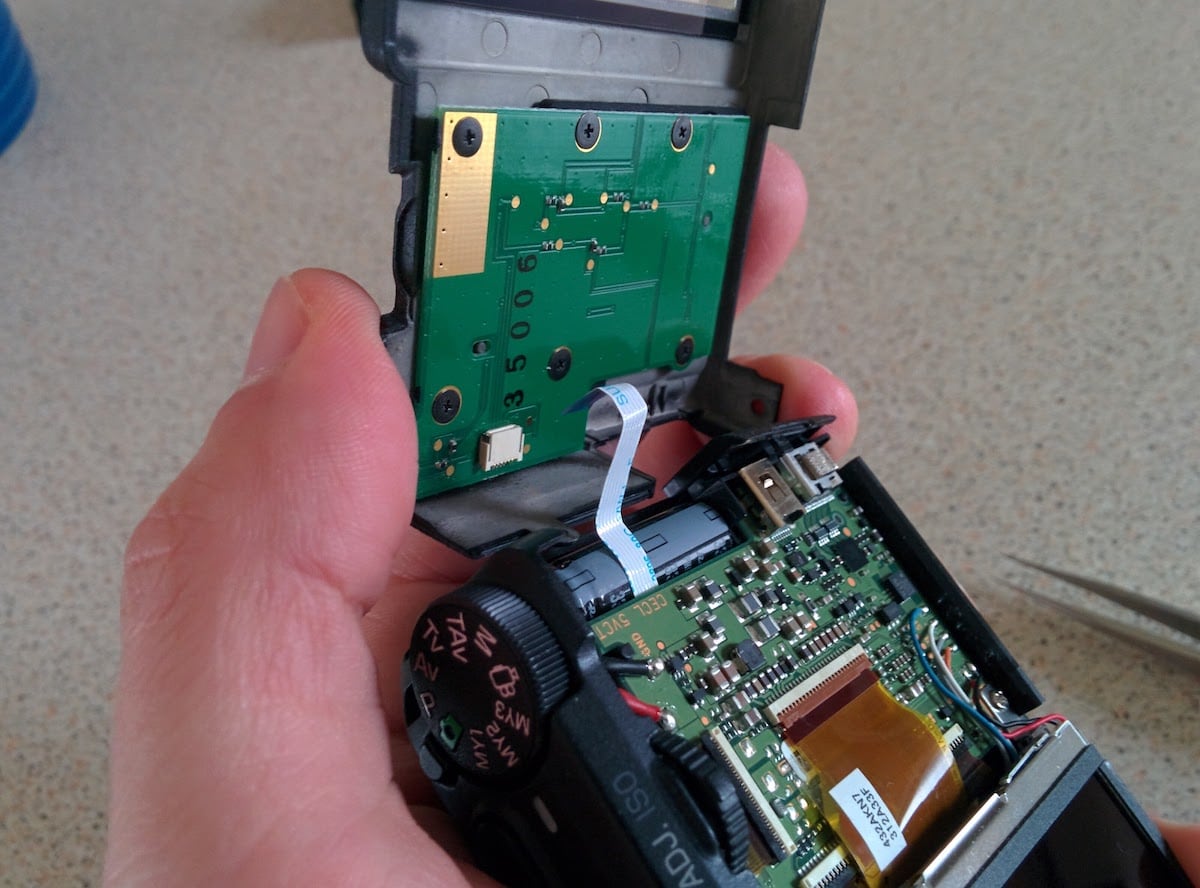
You now have the back panel detached!
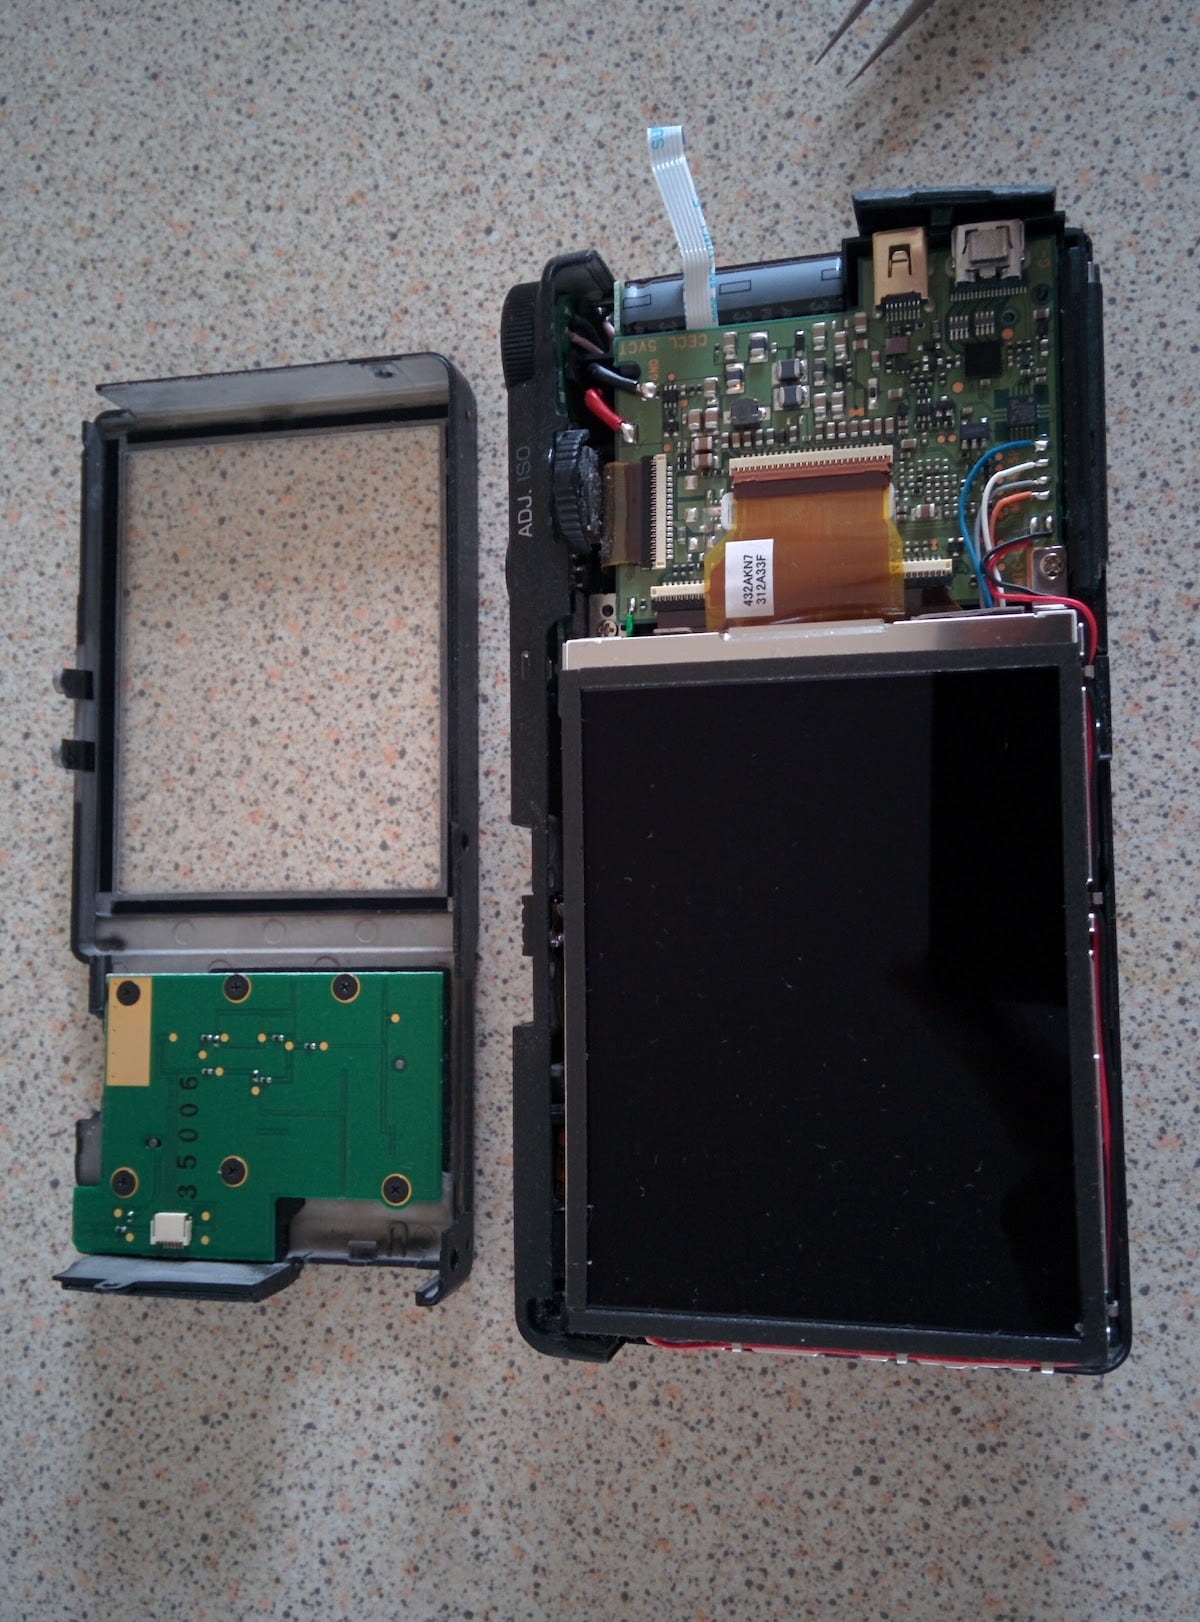
Removing the screen
We now need to get behind the screen. Remove the two screws holding it in place, but don’t lift yet, as the red (a reader informs me yellow on GR2) and black wires which are clipped into the screen surround need unclipping first.
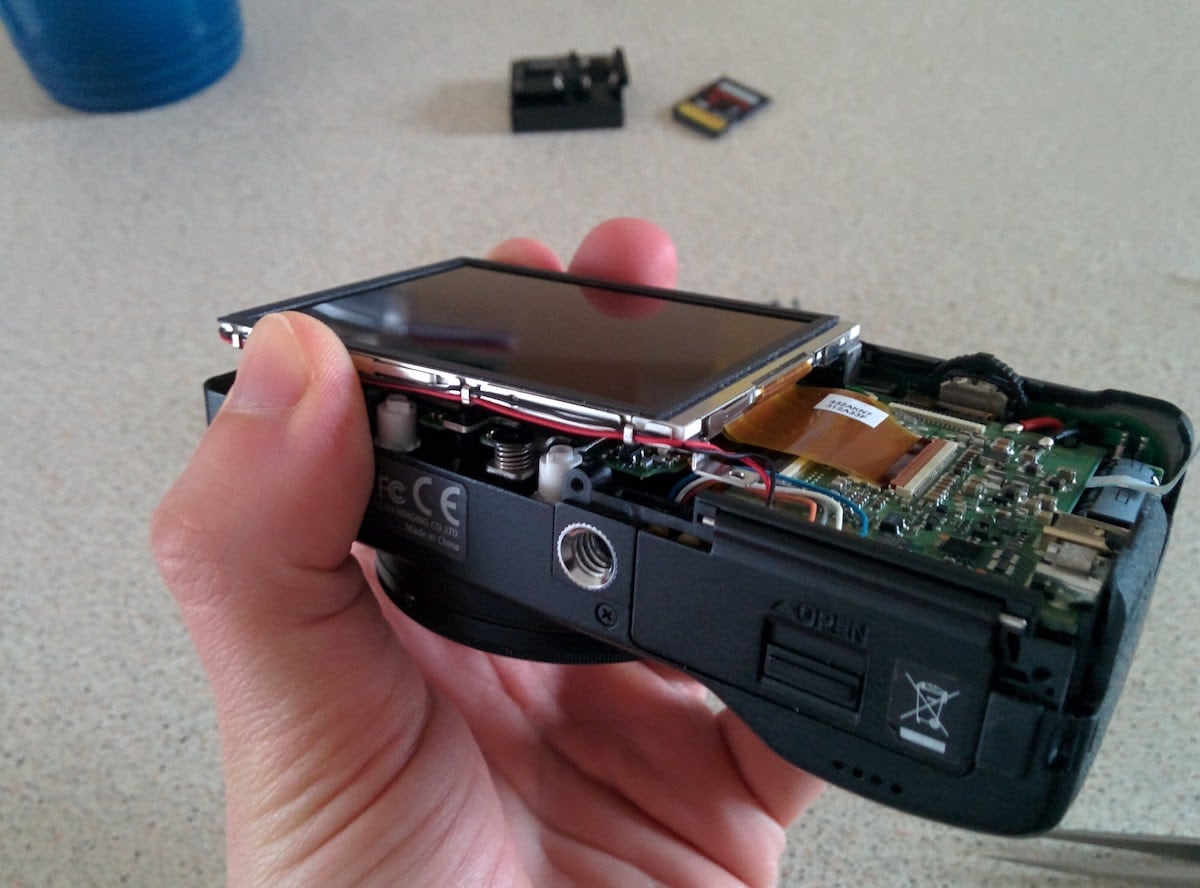
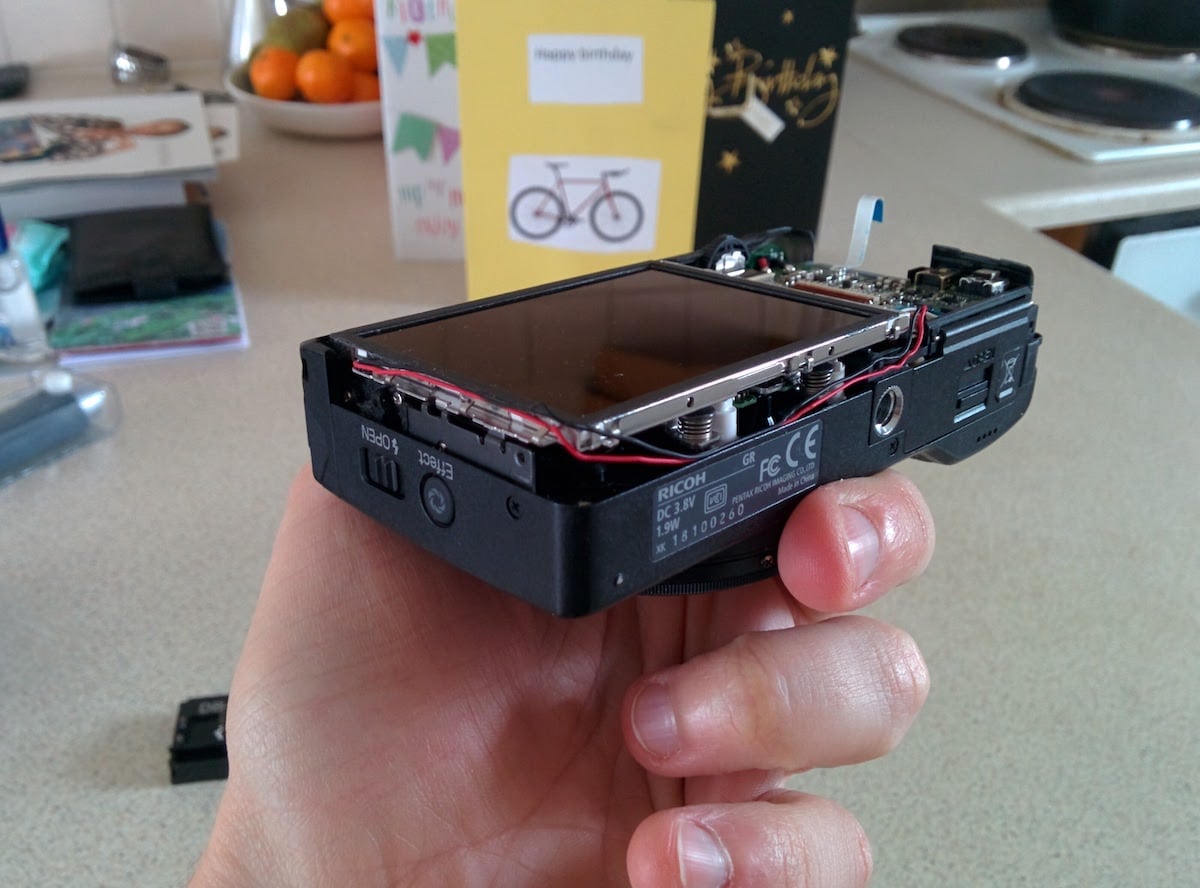
Use the tweezers to unclip the red and black wires from the six clips around the screen. In my case I gently bent the clips back first to avoid pinching the wires. According to the thread linked above these wires are for the video mode microphones. I don’t use video at all, but would still prefer my camera to be fully functional!
The same reader who told me the GR2 has a yellow instead of a red cable also found that on the GR2 the wires are very difficult to unclip, so suggests removing the LCD from the tray first to provide easier access to the cables.
Accessing and cleaning the sensor
With the wires unclipped you can lift the screen over. I chose not to remove the brown cable as it seemed simpler to keep it attached and there doesn’t seem much risk of yanking the cable out.
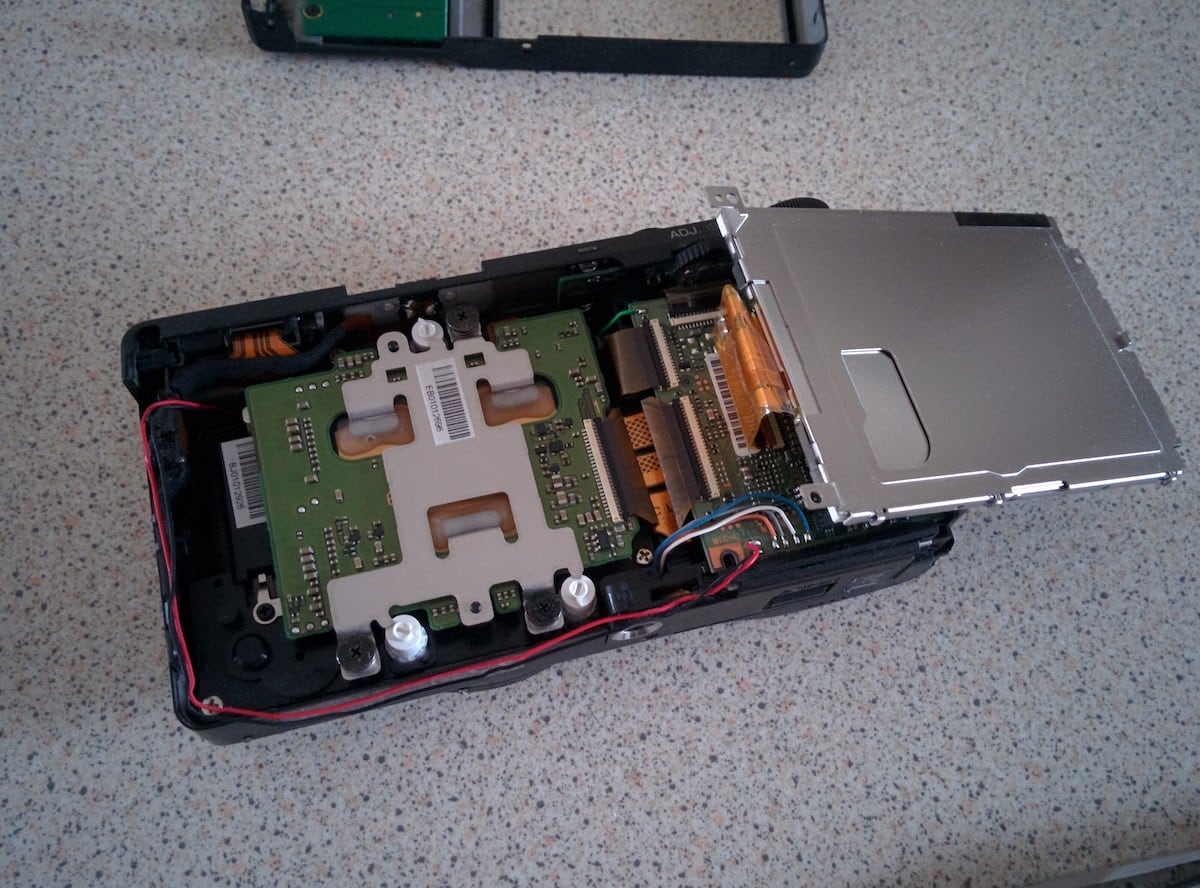
Below the screen is the sensor housing. Remove the three screws holding it down. Each screw has a tension spring, so be careful not to lose it as you remove them. You should now have 14 screws collected.
Lift over the sensor housing. You can now clean the sensor and screen leading to the lens assembly. I used a microfibre cloth and rocket air blower. I also found shining a light on the sensor and viewing from multiple angles helped me see the spots of dust - they’re much smaller than you’d imagine from the resulting image! You can see how poor the fit is on the rubber gasket surrounding the sensor.
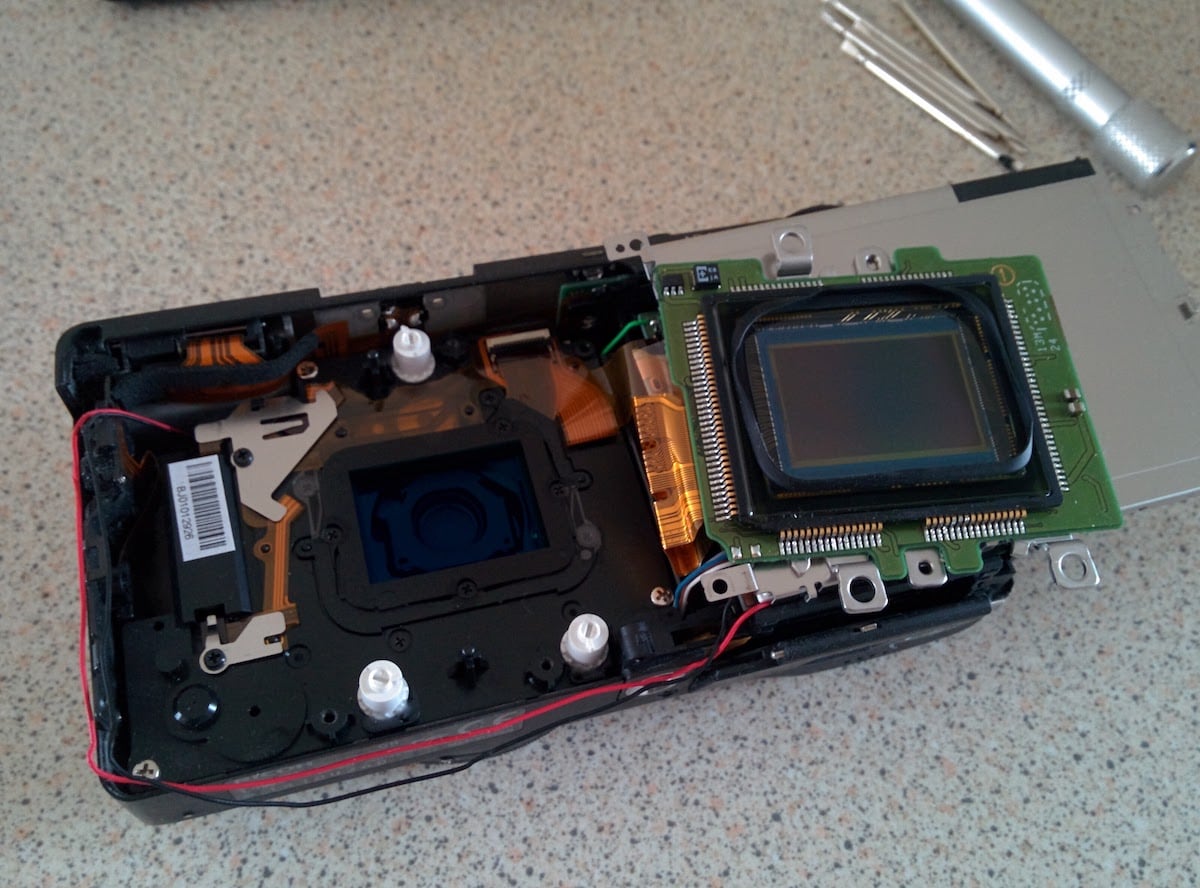
Follow the above steps in reverse order to reassemble the camera. You can do a partial assembly then take a picture of a white wall at f16 to check if you’ve removed all the spots.
Conclusion
Dust spots seem a fairly common problem mentioned in online threads, so hopefully this guide will help someone. If not it will at least be an aide memoire when I need to repeat the process.
So far I’ve avoided purchasing the Ricoh GR II as the new features (wifi + some new filters) don’t seem worth the upgrade, and from what I hear dust is still a problem. I really hope that the future Ricoh GR III both exists and improves the dust sealing. If Ricoh continues their two year release cycle we’ll find out in 2017.
Particularly when you return from holiday with several hundred images and need to review every frame. ↩︎